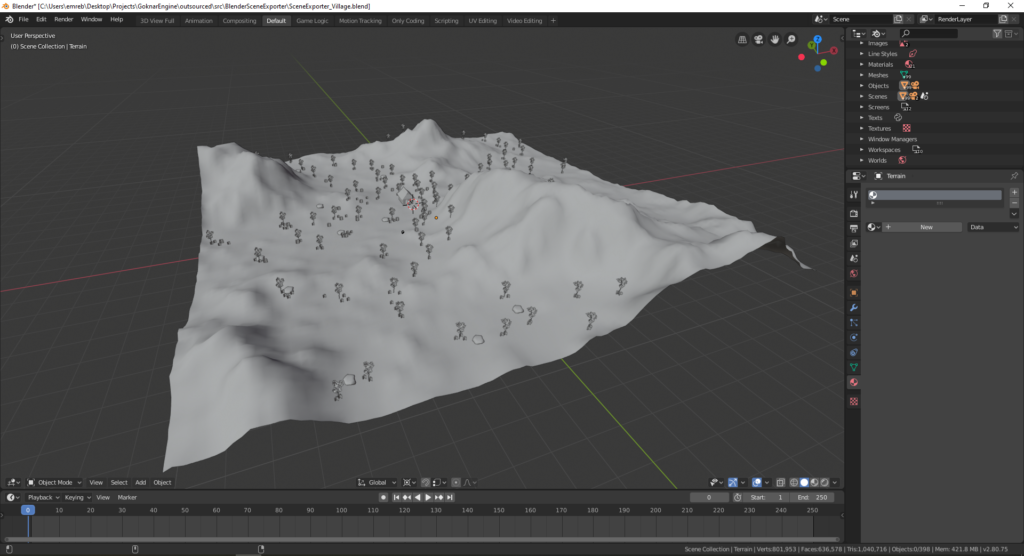
Generic Scene Generation
My main objective is making a generic engine. With a simple scene data, it should have a flawless game scene like all commercial engines do. By saying this I mean that materials, lights, custom shaders etc. should be handled by the engine after reading the scene data. I still have a way to achieve this, but I think I’ve made a progress.
Mesh Instancing
I have also implemented mesh instancing in order not to copy every single mesh in the scene over and over again if they are being used more than once. Think of a scene of the nature where there should be thousands of grass meshes, it would be bad use of memory if their vertex and face data are copied for every one of them. Instead, the mesh is stored in the memory once and every same mesh are stored as a mesh instance holding only the transformation information of the instance. When the instances are being rendered, they render the parent mesh by using their transformation information.
<Meshes>
<Mesh id = "0">
<Name>M_Terrain</Name>
<Material>0</Material>
<PLYPath>./Content/Village/Meshes/Terrain/M_Terrain.ply</PLYPath>
</Mesh>
<Mesh id = "1">
<Name>M_TreeBranches</Name>
<Material>1</Material>
<PLYPath>./Content/Village/Meshes/Tree/M_TreeBranches.ply</PLYPath>
</Mesh>
<Mesh id = "2">
<Name>M_TreeBody</Name>
<Material>2</Material>
<PLYPath>./Content/Village/Meshes/Tree/M_TreeBody.ply</PLYPath>
</Mesh>
<Mesh id = "3">
<Name>M_SkySphere</Name>
<Material>3</Material>
<PLYPath>./Content/Village/Meshes/SkySphere/M_SkySphere.ply</PLYPath>
</Mesh>
....
</Meshes>
<Objects>
<MeshObject id = "226">
<Name>Terrain</Name>
<PivotPoint>0 0 0</PivotPoint>
<RelativePosition>0 0 0</RelativePosition>
<RelativeRotation>0 0 0</RelativeRotation>
<RelativeScaling>1 1 1</RelativeScaling>
<WorldPosition>0.0 0.0 0.0</WorldPosition>
<WorldRotation>0.0 0.0 0.0</WorldRotation>
<WorldScaling>1.0 1.0 1.0</WorldScaling>
<Mesh>0</Mesh>
</MeshObject>
<MeshObject id = "397">
<Name>SkySphere</Name>
<RelativePosition>0 0 0</RelativePosition>
<RelativeRotation>0 0 0</RelativeRotation>
<RelativeScaling>1 1 1</RelativeScaling>
<WorldPosition>0 0 0</WorldPosition>
<WorldRotation>0 0 180</WorldRotation>
<WorldScaling>1000 1000 1000</WorldScaling>
<Mesh>3</Mesh>
</MeshObject>
<MeshObject id = "398">
<Name>WoodenCabin</Name>
<RelativePosition>0 0 0</RelativePosition>
<RelativeRotation>0 0 0</RelativeRotation>
<RelativeScaling>1 1 1</RelativeScaling>
<WorldPosition>-10.11 15.02 3.55</WorldPosition>
<WorldRotation>0 0 0</WorldRotation>
<WorldScaling>1 1 1</WorldScaling>
<Mesh>7</Mesh>
</MeshObject>
<MeshObject id = "0">
<Name>Bush</Name>
<PivotPoint>0 0 0</PivotPoint>
<RelativePosition>0 0 0</RelativePosition>
<RelativeRotation>0 0 0</RelativeRotation>
<RelativeScaling>1 1 1</RelativeScaling>
<WorldPosition>-37.23878479003906 2.0854620933532715 4.048591613769531</WorldPosition>
<WorldRotation>0.2 0.1 166</WorldRotation>
<WorldScaling>1.02 1.02 1.02</WorldScaling>
<Mesh>5</Mesh>
</MeshObject>
...
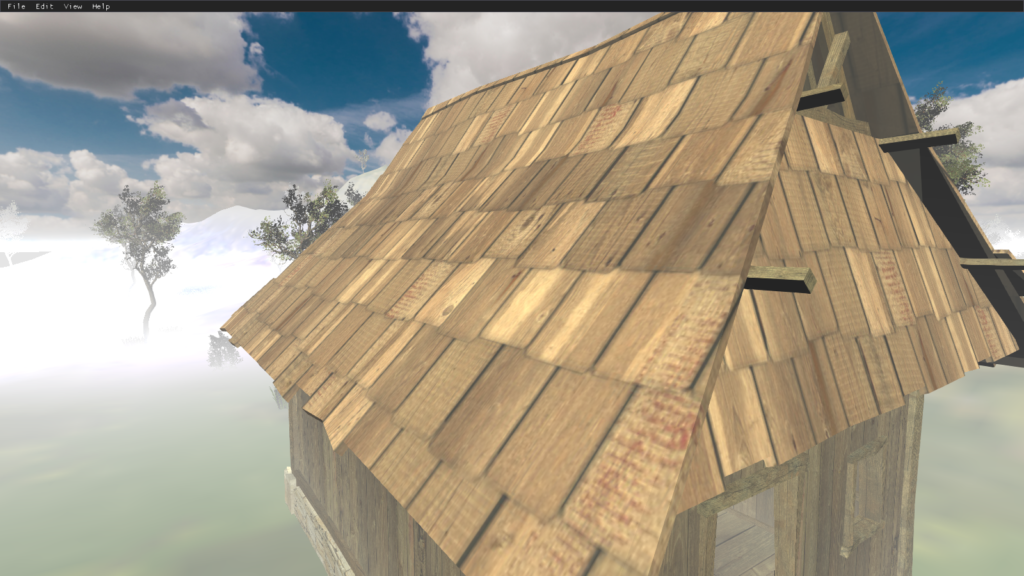
</Objects>Normal Mapping
Normal mapping gives a low poly mesh the illusion of high poly mesh. More information about normal mapping in OpenGL can be found here.

Blender Scene Exporter
I have made a lot of change in the scene exporter script. Since I implemented mesh instancing old blender script that exports every mesh as a vertex, face data etc needed to be changed. From now on every object in the scene is exported as a mesh instance.
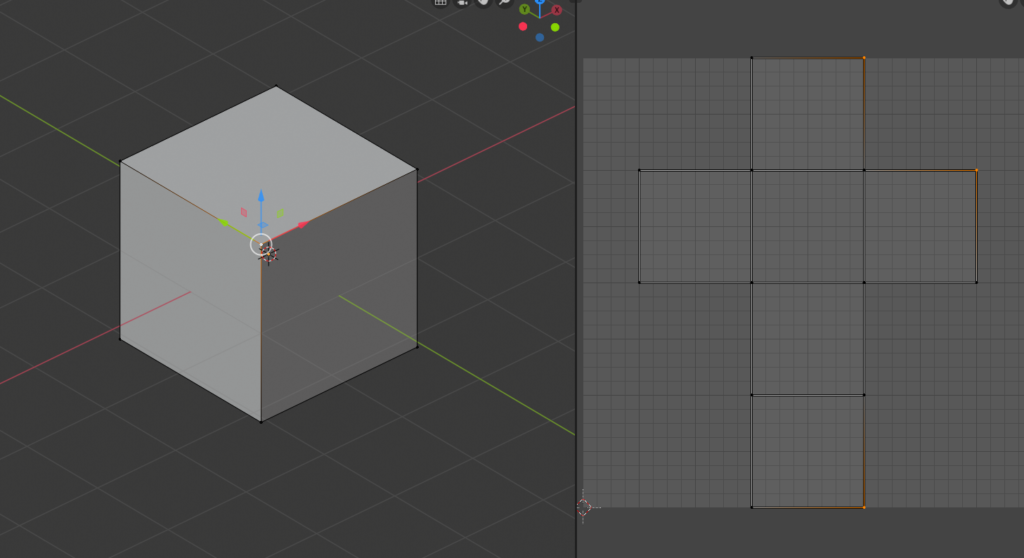
Vertices Having More Than One UV Coordinate
A vertex may have more than one corresponding UV coordinate. Therefore it is a must to duplicate vertices that has multiple UV coordinates. I found out that PLY files already do this vertex duplication so I implemented a PLY model loader.
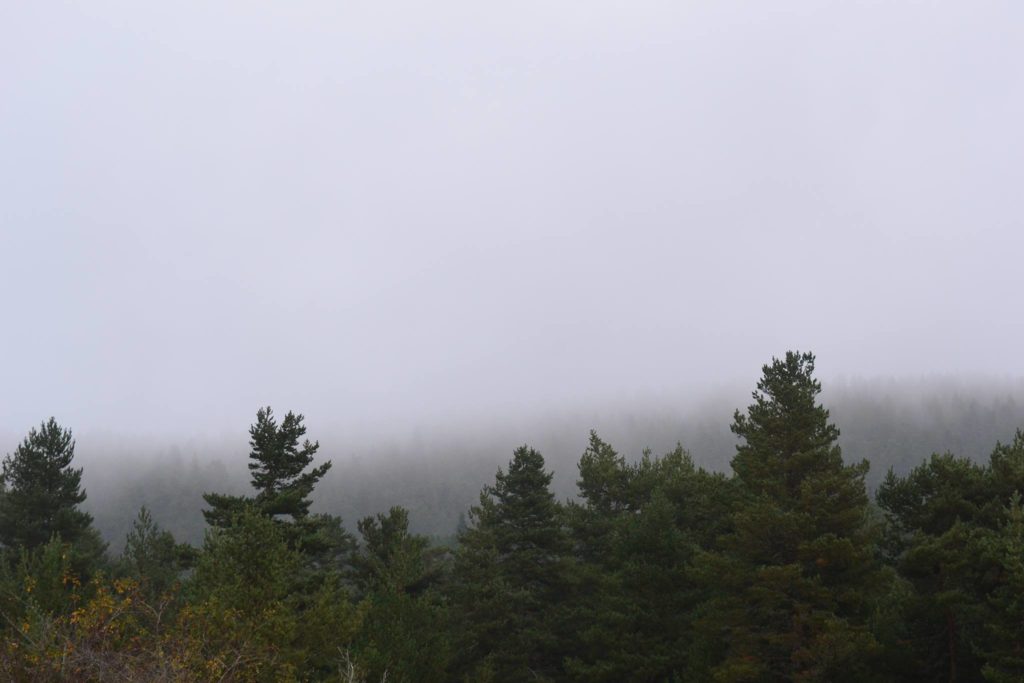
Wind and Fog Effects
I achieved a very basic wind effect by writing a sinusoidal function in vertex shader. The most important thing here is that vertex colors of grass that are intersecting with the floor are black so that the wind does not affect them when they are multiplied by wind disposition.
...
uniform float elapsedTime;
...
vec3 windDirection = vec3(0.70710678118f, 0.70710678118f, 0.f);
float windStrength = 0.25f;
float windSpeed = 0.6f;
void main()
{
vec4 fragmentPosition4Channel = vec4(position, 1.f) * transformationMatrix;
vec4 calculatedPosition = projectionMatrix * viewMatrix * fragmentPosition4Channel;
fragmentPosition = vec3(fragmentPosition4Channel);
vec3 windDisposition = windDirection * windStrength * sin(elapsedTime * windSpeed) * vec3(color);
gl_Position = calculatedPosition + vec4(windDisposition, 0.f);
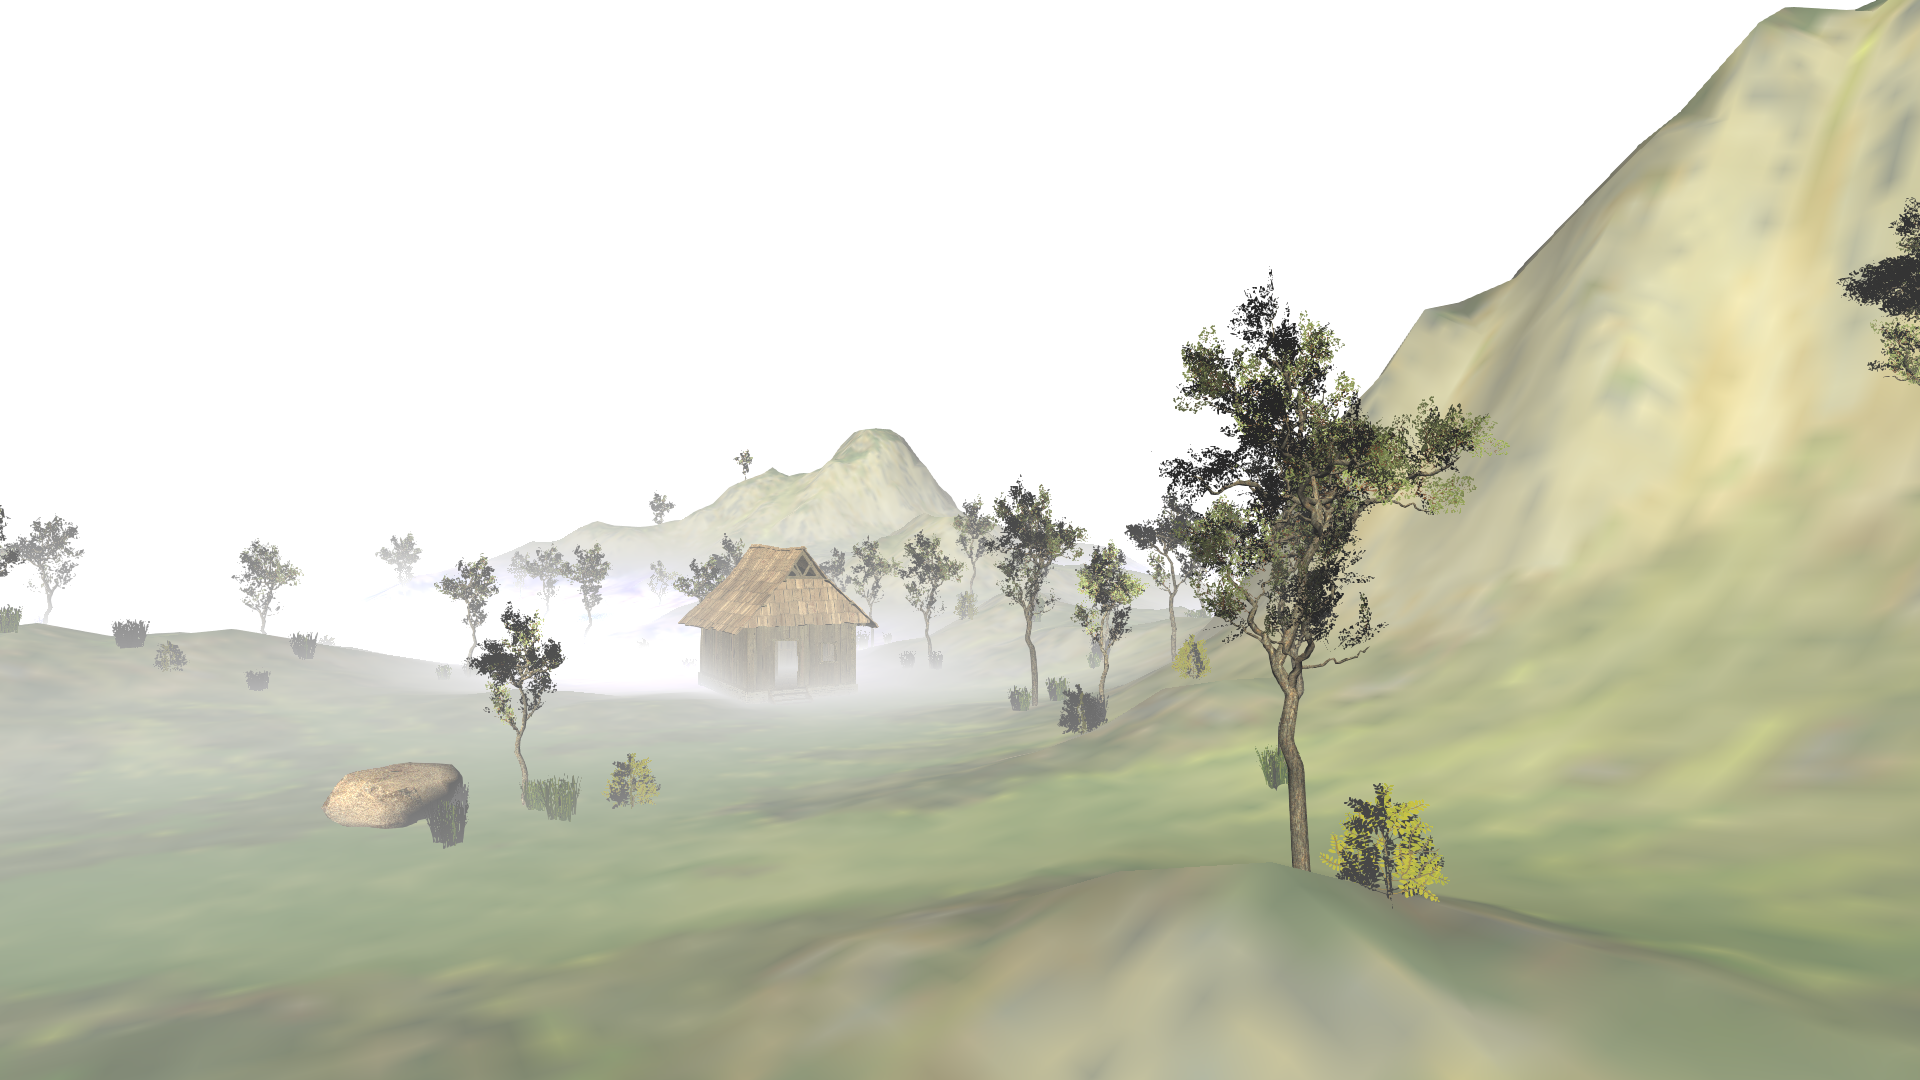
}I achieved fog effect by implementing the following code snippet:
...

in vec3 fragmentPosition;

...
float fogDistance = 300.f;
float fogMinHeight = 0.f;
float fogMaxHeight = 25.f;
vec3 fogColor = vec3(0.90f);

void main()
{
	diffuseReflectance = texture(texture0, textureUV);
	if (diffuseReflectance.a < 0.5f) discard;

	vec3 lightColor = sceneAmbient * ambientReflectance;
	lightColor += CalculateDirectionalLightColor(DirectionalLight0Direction, DirectionalLight0Intensity);

	float depthValue = clamp(length(fragmentPosition - viewPosition) / fogDistance, 0.f, 1.f);
	depthValue = (fogMaxHeight - fogMinHeight) / (fragmentPosition.z - fogMinHeight) * depthValue;

	fragmentColor = vec4(lightColor * (1.f - depthValue) + fogColor * depthValue, diffuseReflectance.a);
}
Result
You can test the result by dowloading the demo(24.4 MBs).